7 Tips for Buying the Best Welding Positioners?
Choosing the right Welding Positioners can make a welding station safer, more consistent, and easier to manage. The best choice depends on the work, not just the machine’s advertised capacity. A compact positioner may suit small brackets, while a large assembly needs a stable table, suitable rotation, and enough clearance. Small details matter.
These seven tips focus on practical checks: load rating, workpiece balance, table size, tilt range, rotation speed, controls, and maintenance support. Pay close attention to the workpiece’s center of gravity. A part can weigh less than the rated limit and still place uneven strain on the fixture. That is easy to overlook. Compare specifications with the actual assemblies you weld, including clamps and fixtures, and ask the supplier about operating limits. When possible, test a representative part before committing.
Think about the operator’s reach, visibility, and access to controls, too. Smooth positioning can reduce awkward handling, but it does not replace sound workholding or appropriate training. Check whether the drive offers useful speed control, whether components are easy to service, and whether the manufacturer provides clear documentation. There is no perfect setup for every shop. A positioner that works well for one job may be inconvenient for another. Use these tips to compare options carefully and choose equipment that fits your workload, workspace, and verified requirements.
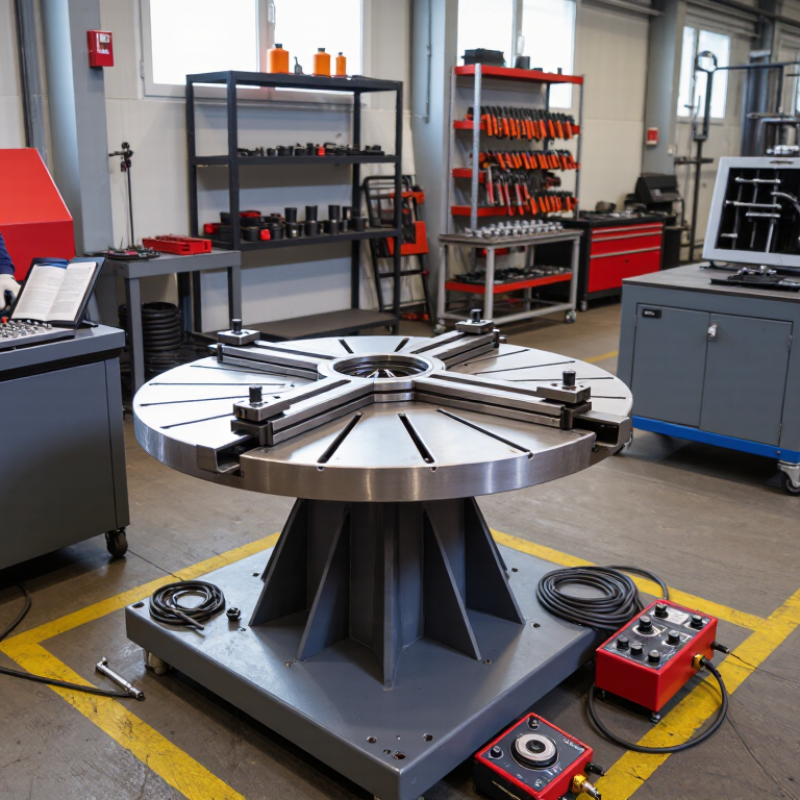
Size Rated Payload by Workpiece Mass, Center of Gravity, and Load Moment (kg·m)
A positioner’s rated payload is not a safe selection shortcut. Weigh the workpiece with clamps, backing bars, and fixtures included. Then locate its center of gravity relative to the rotation axis. For example, a 180 kg assembly with its center of gravity 0.45 m from the axis creates a static moment of 81 kg·m, or about 795 N·m. The mass rating alone misses this turning load. Check the supplier’s moment rating in matching units.
Allow for movement, too. Starting, stopping, and changing tilt can raise loads beyond the static calculation, especially with an offset workpiece. Use the machine’s stated limits for payload, center-of-gravity offset, and overturning moment; do not assume one rating replaces another.
ISO 12100:2010 calls for machinery risk assessment, while the AWS Welding Handbook provides practical context on welding setup and work handling. Treat both as guidance, not a substitute for the positioner’s technical data.
A useful check: sketch the assembly and mark its axis. Small detail, big effect. Recheck the estimate when the fixture changes; that step is easy to miss, and the calculation may still be imperfect if the actual center of gravity is uncertain.
