
How to Choose a Mouthpiece Adapter 7 Buying Tips
A Mouthpiece Adapter can look like a small, simple part, but the wrong fit may cause leaks, wobbling, or poor airflow. The right choice depends on the devices you already own, the connection types, and how you plan to use them. Small details matter.
Start by checking the mouthpiece and device measurements rather than relying on appearance alone. A ruler or caliper can help, though product specifications are often more precise. Look for the adapter’s inner and outer diameters, connection style, and stated compatibility. If a listing uses vague terms such as “universal,” verify the dimensions before buying. Universal does not always mean universal.
Material is another practical consideration. Smooth, durable surfaces are easier to inspect and clean, while sharp edges or rough seams can make a part uncomfortable to handle. Check whether the manufacturer provides clear care instructions and product details. These are useful signs, but they do not guarantee a perfect fit.
This guide covers seven buying tips, from measuring connections to assessing materials, construction, and seller information. It also explains when an adapter may not solve the problem. Sometimes the measurements are unclear. Pause and confirm them before ordering. A few minutes of checking can prevent an avoidable return, yet even careful buyers can miss a detail. That is worth remembering.
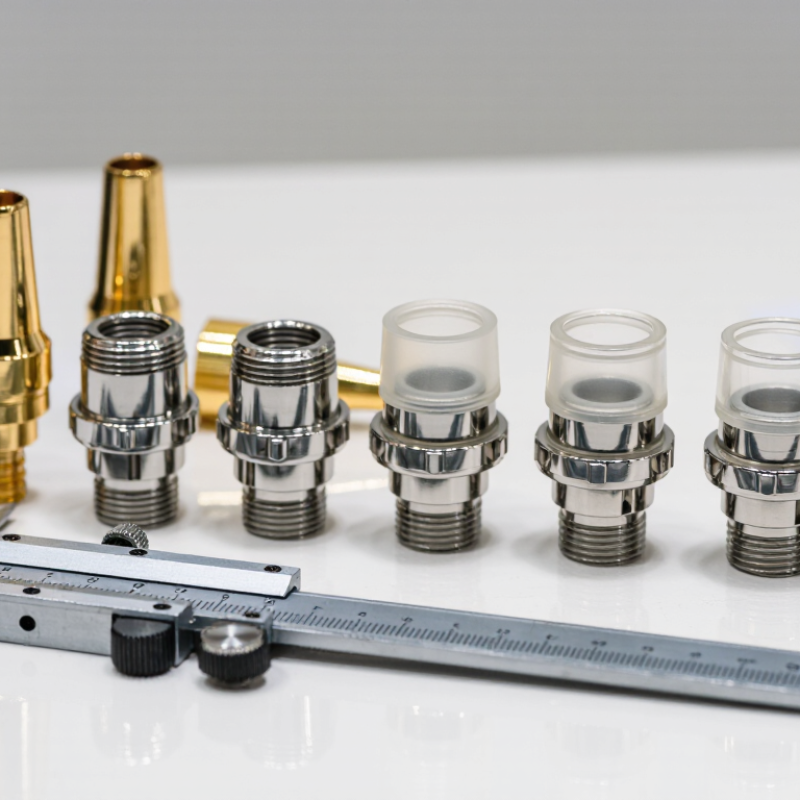
Understand the Purpose and Types of Mouthpiece Adapters
A mouthpiece adapter connects a mouthpiece to an instrument or fitting that does not match its size or shape. It can make a compatible setup possible without replacing the mouthpiece. Fit matters: a loose connection may wobble or leak air, while a forced fit can damage the parts. Check the instrument’s receiver and the mouthpiece’s shank before choosing an adapter. Small differences count.
Adapters come in several forms. A reducer or expander bridges different diameters; a tapered adapter matches parts with different internal shapes. Some are straight, while angled versions help when space or hand position is limited. For brass instruments, the shank and receiver dimensions are especially important. For other setups, confirm the connection type rather than relying on appearance alone. Measure carefully.
Material and finish can affect durability, weight, and how securely the adapter seats. Smooth edges help prevent scratches, and a snug fit should not require excessive force. A practical check is to assemble the parts gently and look for gaps or movement. It is easy to focus too much on material; fit is usually the more useful starting point. I still see that mistake. Choose an adapter made for the specific connection, and ask a qualified repair technician if measurements are unclear.
