What Is the Best Spray Paint for 3D Printed Parts in 2026?
Choosing the best spray paint for 3D printed parts in 2026 is not as simple as picking a color. The right result depends on the filament, surface preparation, and the finish you want. A glossy coat can make a carefully sanded PLA part look polished; the same paint may highlight ridges on a rough print. Small details matter.
Joel Telling, the 3D-printing educator known as The 3D Printing Nerd, offers a useful principle, paraphrased here: treat preparation as part of the print, not an afterthought. That advice guides this look at Spray Painting 3d Printed Parts, from choosing compatible primers and paints to building thin, even coats. Test on a spare print first. It saves headaches.
A rattle can is convenient, but it is not magic. Wash off dust, let the part dry, and check that the primer suits the plastic. PLA, PETG, and ABS can respond differently, so follow product instructions and try a small, hidden area. Work with good ventilation, too.
There is no single best spray paint for every project. A tabletop miniature needs different coverage from a large cosplay prop or a functional bracket. Even careful prep can leave visible layer lines. That is worth admitting. This guide compares practical options by adhesion, finish, ease of use, and value, so you can choose with realistic expectations—not just a shiny product label.
How Spray Paint Performs on 3D-Printed Parts
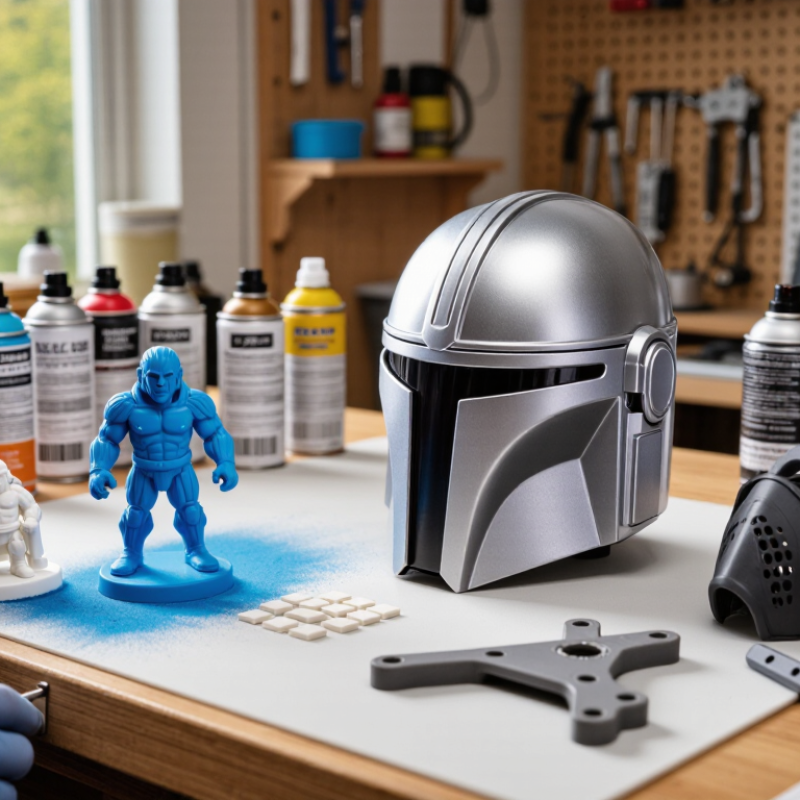
Spray paint can give a 3D-printed part an even color, but the result depends heavily on the surface beneath it. Layer lines often remain visible through a glossy finish, especially on curved walls. Sanding with fine-grit paper can soften them, though aggressive sanding may flatten small details. Dust left in grooves can also spoil the finish.
Different plastics respond differently. PLA usually accepts paint after cleaning and light sanding, while some flexible materials may need a coating designed to bend without cracking. Test on a small offcut when possible. That matters. A compatible primer can improve adhesion, but a thick layer may blur lettering or close narrow holes. Allow each coat to dry according to its directions, and use several light passes rather than one heavy spray. Thin coats work.
I have found that print orientation affects the final look: ridges facing the light can show through even careful painting. A matte finish tends to hide minor surface flaws better than a glossy one, though it will not conceal deep gaps. Keep the can moving and spray in a ventilated area. One drawback is easy to miss: paint can make fitted parts slightly larger, so mask joints and threaded openings before spraying. Test the fit after the coating has fully cured.
