
2026 Best Bath Exhaust Fan for Your Bathroom?
A steamy mirror can clear in minutes, while damp grout and a lingering odor may signal that bathroom moisture is staying too long. Choosing a Bath Exhaust Fan is not just a matter of picking the quietest model on the shelf. Airflow, duct length, noise, controls, and the path to the outdoors all affect real performance. Small details matter.
The Home Ventilating Institute (HVI) recommends sizing many bathrooms at about one cubic foot per minute (CFM) per square foot, with a 50 CFM minimum for smaller rooms. ENERGY STAR’s ventilation-fan guidance reports that certified fans can be substantially more energy-efficient than standard models. These are useful benchmarks, not guarantees: a long, restrictive duct or poor installation can reduce airflow. Still, airflow numbers do not tell the whole story.
Building scientist Joseph Lstiburek is known for emphasizing moisture control in buildings. A practical paraphrase of his guidance—not a verbatim quotation—is: “Control moisture at its source, then provide a reliable route outdoors.” That principle helps frame this 2026 guide: match fan capacity to the room, check sound ratings, and look closely at the duct route before buying. Not always. The best choice may be less powerful on paper but better suited to the space. This guide compares the details that matter, while recognizing that no single fan can fix every ventilation or installation problem.
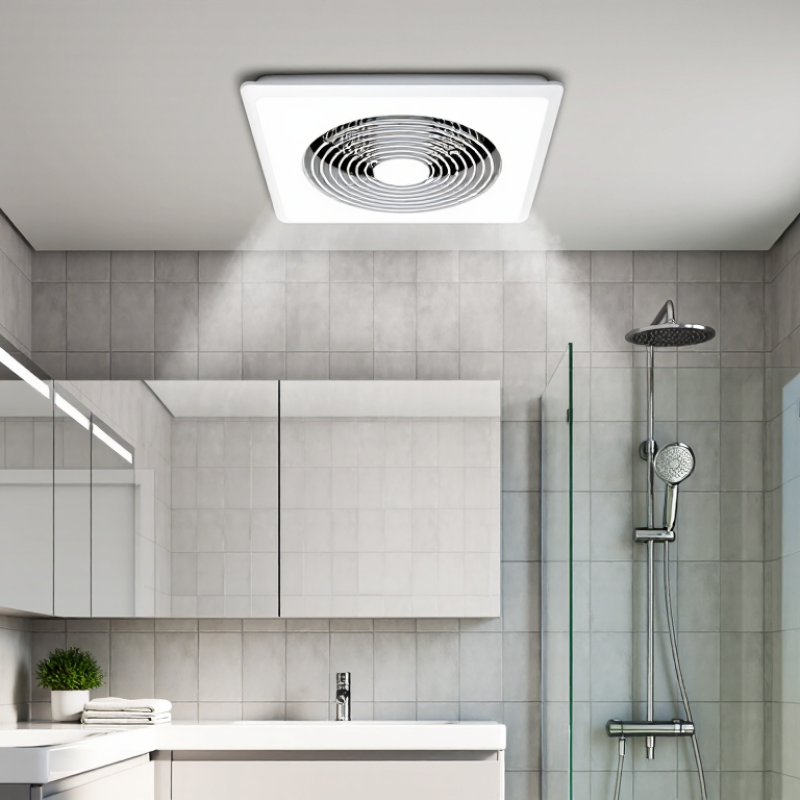
How Bathroom Exhaust Fans Improve Indoor Air Quality
2026 Best Bath Exhaust Fan for Your Bathroom?
How Bathroom Exhaust Fans Improve Indoor Air Quality
A bathroom exhaust fan does more than clear a foggy mirror. It moves moist air outdoors, helping reduce lingering humidity that can encourage mold growth. It can also carry away odors and some airborne particles produced during bathing and cleaning. It is not a substitute for fresh air throughout the home, though. A fan works best when its airflow suits the room and its duct leads outdoors, not into an attic or wall cavity. Small details matter.
Tips: Run the fan during showers and for about 20 minutes afterward. Keep the door slightly open to let replacement air enter. Clean the grille regularly, since dust can restrict airflow. If the fan sounds loud but seems weak, check the duct and vent for blockage before assuming the unit needs replacing.
When choosing a fan, consider the bathroom’s size, duct layout, and noise level. A quiet model may be pleasant, but noise ratings alone do not prove effective ventilation. That is an easy detail to overlook. Check the airflow rating and follow the manufacturer’s sizing guidance; longer or sharply bent ducts may reduce performance. If dampness persists despite regular use, look for other causes, such as leaks or poor ventilation elsewhere. The fan helps, but it cannot fix every moisture problem.
